How to Harvest Seeds for Replanting: A Beginner’s Guide
Unlocking the Benefits of Seed Harvesting
Harvesting seeds is not merely a cost-saving measure, it is an invitation to engage deeply with the rhythms of nature and the nuances of plant biology. By turning your focus to this ancient practice, you can tap into a wellspring of benefits that extends far beyond the immediate financial savings.
Save Money
One of the most compelling reasons to start harvesting your own seeds is economics. Garden centers and online seed retailers often charge substantial amounts for high-quality seeds, especially for organic and specialty varieties. For instance, a packet of heirloom tomato seeds can easily cost $3 to $5, and over time, this expense can accumulate to a significant sum. By saving seeds from your own plants, you essentially create a self-sustaining cycle of gardening that allows you to grow the same varieties year after year without incurring extra costs.
Preserve Heritage Varieties
Alongside cost savings, seed harvesting also plays a vital role in biodiversity conservation. Consider varieties such as ‘Brandywine’ or ‘Cherokee Purple’ tomatoes, which are cherished in the gardening community but threatened by the rise of hybrid seeds in commercial farming. By collecting and saving seeds from these types of plants, you become a steward of agricultural history, helping to keep these unique cultivars alive for future generations. This act not only impacts your garden but contributes to the ecological health of the planet.
Enhance Your Gardening Skills
Diving into the practice of seed harvesting will undoubtedly expand your gardening skills. The process requires you to learn about the life cycle of your plants, recognizing when seeds are ripe for collection. For instance, beans and peas release their seeds once their pods begin to dry and yellow. Observing these changes fosters a deeper connection with your plants and an understanding of their needs and behaviors.
What Seeds to Harvest
When it comes to selecting seeds, some plants are much easier to propagate from seed than others. For example, common vegetables such as peppers, squash, and beans are excellent candidates, while more complex plants may require cross-pollination techniques. Flowers like marigolds or zinnias are also great options for beginners seeking to enjoy vibrant blooms in their garden.
When to Harvest
Timing your seed harvest accurately is crucial to ensuring successful growth in subsequent seasons. Observing the color and texture of seed pods or the firmness of fruits can provide valuable clues. For instance, sunflower seeds are best harvested when the backs of their heads turn yellow, yet they remain intact on the plant. Missing the right moment can lead to seeds falling to the ground or becoming unviable.
How to Store Seeds
Once harvested, proper storage of seeds is essential to maintain their viability. Seeds should be kept in a cool, dry place, preferably in airtight containers. Using small glass jars or paper envelopes labeled with the seed type and date ensures you won’t forget what you’ve saved and when to plant them. Some gardeners even use silica gel packets to absorb moisture, extending the seeds’ shelf life.
Whether you are a novice gardener or someone with experience looking to refine your techniques, mastering the art of seed harvesting opens up a world of possibilities. With this guide, you are now equipped to tap into the full potential of your garden, saving money, preserving biodiversity, and growing your knowledge. Prepare to unlock your garden’s potential—and your own—by engaging in this fulfilling gardening practice!
DISCOVER MORE: Click here to learn how to assess your plants’ water needs
Getting Started with Seed Harvesting
Embarking on the journey of seed harvesting requires a blend of observation, patience, and a willingness to learn the intricacies of your plants. As a beginner gardener, you may find the prospect of harvesting seeds both exciting and intimidating. However, with a little guidance, you can navigate this process with confidence and joy.
Understanding Your Plants
A fundamental step in seed harvesting is understanding the plants in your garden. Each species has its unique characteristics, including how it produces seeds and when they are ready for harvest. Begin by familiarizing yourself with the plants you have grown. Below are a few examples of common garden plants along with their seed harvesting specifics:
- Tomatoes: Allow the fruit to fully ripen on the vine before harvesting. Once the skin is soft and begins to wrinkle, it is ready. Cut open the fruit to extract seeds, rinsing off the gel to prevent mold.
- Cucumbers: Similar to tomatoes, cucumbers need to be fully mature. Look for larger fruits that are yellowing. Scoop out the seeds, rinse, and let them dry before storage.
- Peppers: Wait until peppers have fully changed color from green to their mature hue. Cut them open, remove the seeds, and dry them thoroughly.
- Marigolds: These vibrant flowers produce seeds within the spent blooms. Once the blooms wither, allow them to dry completely before collecting the seeds from the seed pods.
Identifying Seed Readiness
Determining when seeds are ready for harvest can be a delicate balance. Each plant signals this moment differently, usually through changes in color, texture, or dryness. For instance:
- Legumes such as beans and peas dry in their pods; when the pods are brown and brittle, it’s time to collect.
- Sunflowers should be harvested when the backs of their heads are yellow, indicating that the seeds are matured and ready to be collected.
- Grasses and grains are best harvested when the seed heads turn golden brown and feel dry to the touch.
Keeping a garden journal can help track these signals, making your seed harvesting efforts more effective season after season.
Tools of the Trade
Before you embark on harvesting your seeds, it’s essential to gather the right tools. Here’s a handy list to ensure you’re prepared:
- Scissors or garden shears: For cutting mature fruits and seed pods without damaging the plant.
- Containers: Use paper bags or envelopes to collect seeds; avoid plastic, which can trap moisture and ruin seeds.
- Labels: Keep track of seeds by labeling your containers with the plant name and harvest date.
As you delve deeper into the world of seed harvesting, you will discover that each step serves to enhance not just your gardening prowess but also your appreciation for the plants you cultivate. Understanding when and how to collect seeds sets the stage for a fulfilling gardening experience that extends far into the future.
Steps to Harvest Seeds Successfully
1. Choose the Right Time
Timing is crucial when it comes to harvesting seeds. You want to ensure that the seeds are fully mature, which is typically when the seed pods or fruits have dried out on the plant. Monitor the plants closely in late summer or early fall, as this is when many seeds are ripe for harvesting. Observing the natural changes in color and texture of the seed pods can help you identify the optimal harvesting time.
2. Gather Your Tools
Before you begin the process, make sure you have the right tools handy. A pair of sharp scissors or garden shears is essential for cutting seed heads off the plants. Additionally, a container or paper bags for collecting seeds will prevent them from getting mixed with soil or debris. For small seeds, consider using an envelope for better organization.
3. Harvesting Techniques
When harvesting seeds, there are different approaches depending on the type of plant. For plants with seed heads, use scissors to cut the stem below the flower or pod. For legumes like peas or beans, pull the pods directly from the plant. Be gentle to avoid damaging the plant as you harvest. If the seed pods are still green, allow them to dry in a cool, well-ventilated area for several days before extracting the seeds.
4. Seed Extraction
Once you’ve collected the seed pods, it’s time to extract the seeds. Gently press or rub the pods to release the seeds. Use sieves or screens to separate seeds from any debris. This process can be quite delicate, so take your time to ensure that seeds are not damaged during extraction.
5. Cleaning and Storing Seeds
Cleaning seeds is vital for keeping them viable. After extraction, make sure to remove any remnants of plant material. Store seeds in a cool, dry place, ideally in airtight containers or envelopes labeled with the plant species and date harvested. This will not only help in preventing mold growth but also ensures that the seeds stay healthy for the next planting season.
6. Test Your Seeds
Before replanting, conduct a germination test to check the viability of your harvested seeds. Place a few seeds on a damp paper towel, fold it, and keep it in a warm spot. After a week or so, check for sprouting to see which seeds are likely to grow in your garden. This simple test can save you the hassle of planting non-viable seeds.With these steps in mind, you’ll be able to successfully harvest seeds for replanting, ensuring a thriving garden for future seasons.
DIVE DEEPER: Click here for tips on growing aromatic herbs at home
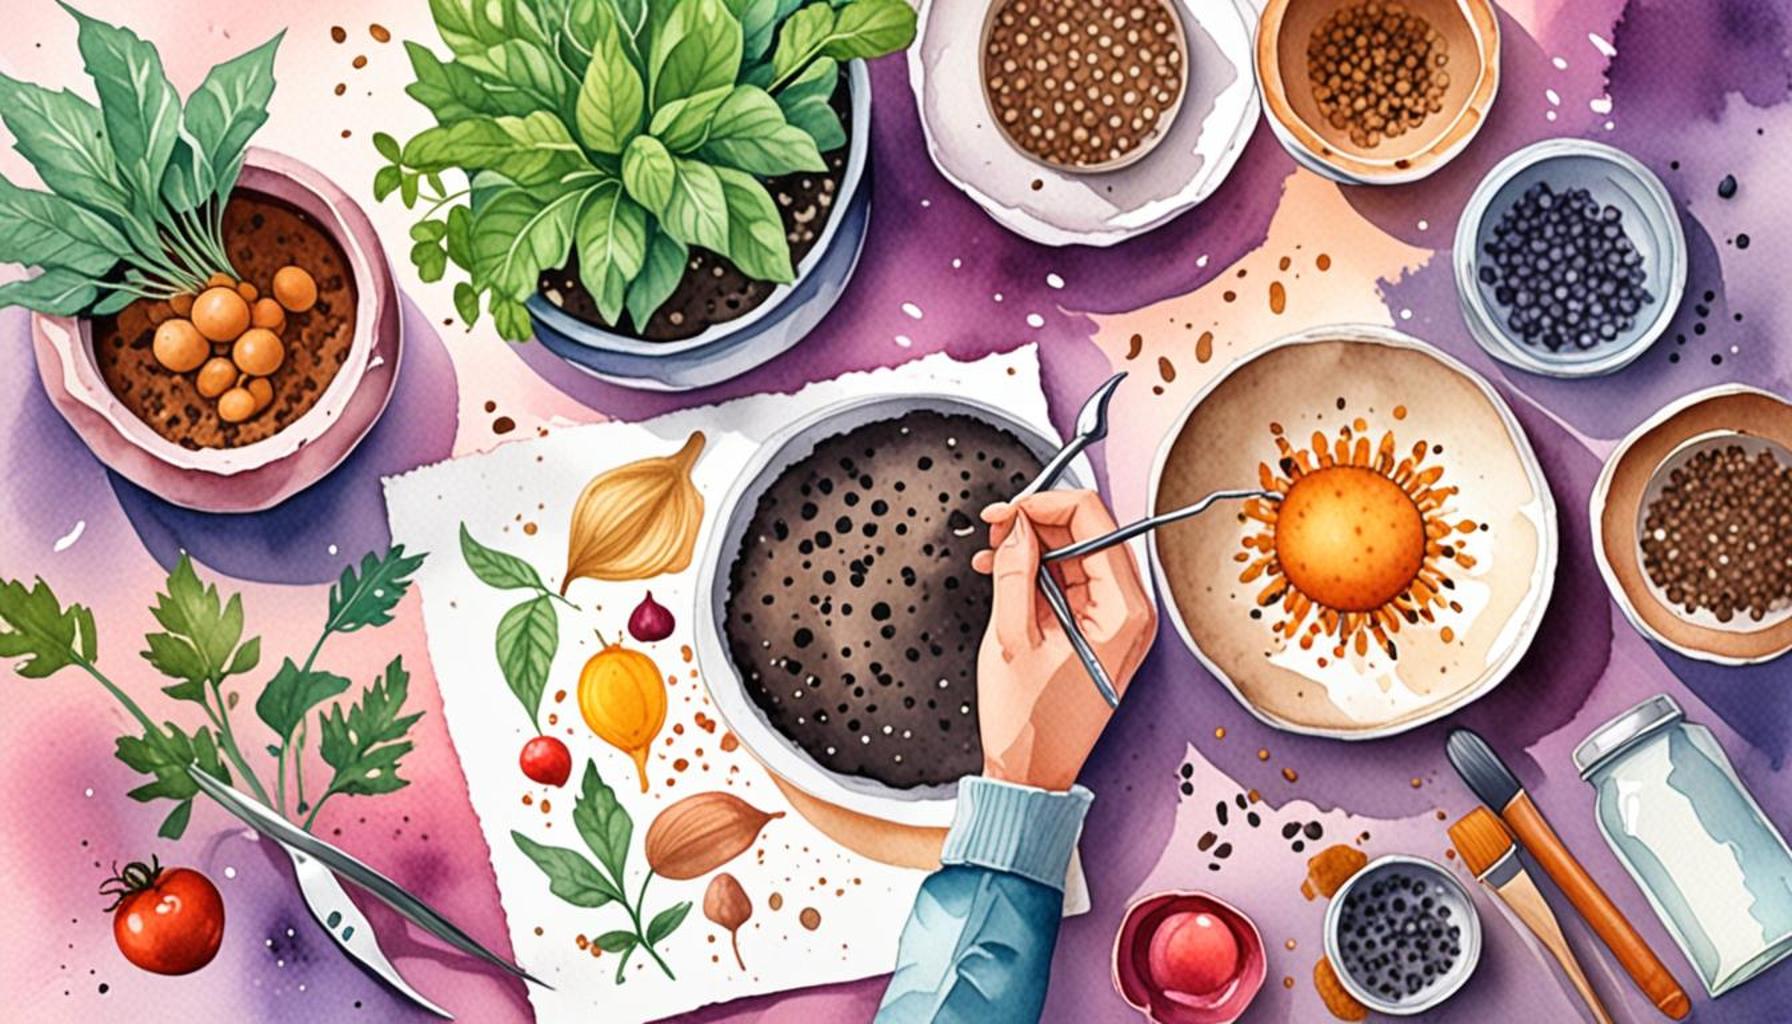
Harvesting and Storing Your Seeds
Once you’ve determined when your seeds are ready for harvest, the next vital step is proper collection and storage. This stage can significantly influence the viability of the seeds for future planting. Let’s dive into the techniques to ensure your seeds remain healthy and ready for replanting.
The Process of Harvesting Seeds
The actual process of harvesting seeds varies by plant species but generally involves careful handling to avoid damaging the seeds or the parent plant. Here’s a simple guideline to follow:
- Timing: Harvest seeds early in the day when dew has dried, which helps prevent mold and improves the quality of the seeds.
- Technique: Use your scissors or shears to snip seed heads or pods, ensuring you cut them cleanly to avoid tearing. For plants with fragile stems, gently twist the seed pods to remove them.
- Cleaning: After harvesting, proceed to remove any debris, chaff, or plant material. This step is crucial as contaminants can cause seeds to spoil during storage.
Drying Your Seeds
Proper drying is essential to ensure that your seeds remain viable. Seeds that retain excess moisture are prone to mold and fungal growth, reducing their longevity:
- Air Drying: Spread seeds out on a tray lined with a clean paper towel or a breathable surface in a cool, dry area without direct sunlight. Ensure they are spaced out to allow proper airflow.
- Temperature and Humidity: Ideal drying conditions are cool (around 70°F) with low humidity. If you’re in a humid region, consider using a dehydrator set to very low temperatures.
- Testing for Dryness: Seeds are ready for storage when they feel hard to the touch and snap rather than bend. For larger seeds like beans and peas, they should feel firm when squeezed.
Storing Your Seeds
Once your seeds are dried, proper storage is key to maximizing their lifespan and potency for the next planting season:
- Containers: Store seeds in airtight containers made of glass or lightproof plastic. This will shield them from moisture and light that can degrade their quality.
- Labeling: Just like when collecting seeds, ensuring you label each container with the plant name, harvest date, and any specific notes about growing conditions will help you later when you’re ready to plant.
- Optimal Conditions: Keep the containers in a cool, dark location, such as a basement or a refrigerator. Avoid areas that experience temperature fluctuations, which can shorten seed viability.
Understanding Seed Viability
Seed viability refers to the seeds’ ability to germinate and grow into healthy plants. It’s essential to understand that not all seeds remain viable indefinitely. Here’s some insight:
- Aging: Most seeds have a viability period; for instance, tomato seeds can last 4-6 years, while sunflower seeds may only last for 2-3 years under ideal conditions.
- Germination Tests: Before planting saved seeds, conduct a germination test by placing a few seeds between moist paper towels and keeping them in a warm place. Counting how many sprout will give you an idea of their viability.
Mastering the art of harvesting and storing seeds enhances not just your gardening strategy but also encourages a deeper connection with nature. After successfully navigating these steps, you’ll be well on your way to creating a self-sustaining garden that will flourish year after year.
DISCOVER MORE: Click here to find the best resilient plants
Conclusion
Embarking on the journey of harvesting seeds for replanting is not only an essential gardening skill but also a rewarding opportunity to engage with nature. By following the steps outlined in this guide, you can ensure your seeds are collected, dried, and stored properly, maximizing their viability for future planting. Remember, each plant species may have specific needs, so adapting your techniques to suit those requirements will yield the best results.
As you develop your seed-saving skills, you’ll gain a deeper appreciation for the life cycle of plants and a greater understanding of sustainable gardening practices. Don’t be afraid to experiment with different methods; gardening is all about learning and discovery. Consider joining local gardening groups or online forums where you can share your experiences and learn from fellow enthusiasts.
Moreover, engaging in seed saving cultivates a sense of independence in your gardening endeavors. Not only can you preserve unique varieties, but you’ll also contribute to biodiversity and sustainability efforts in your community. As you plan your next planting season, take pride in the seeds you’ve nurtured and saved, knowing that you’re fostering new life while becoming a steward of the environment.
Now, armed with your newfound knowledge, go forth and explore the world of seed harvesting! Your thriving garden is just a season away, and the potential is as vast as your imagination. Happy planting!